«MILICIANO» S.C.W. 1937, ARCABUZ 1/16 (English version)

Versión Texto Castellano

#modelling_expands #gazquezbooks

I present you the bust that I am «perpetrating» right now, it is the reference of Arcabuz «Miliciano – 1937» to 1/16, this scale is very suitable for busts, because it presents the adequate detail to work well the faces, and it does not have an excessive size that ends up being an exhausting task for us.

Arcabuz’s miniature is modeled with 3D technology, digitally printed and then copied in resin.

I can say that I found it very good, although I noticed some line of the print, what I least liked is that the head comes attached to the body, this for me is not minor, as it makes it significantly difficult to paint with airbrush, be able to separate the head, and work it apart, we avoid complicated masked, but as I say, it is a matter of liking and personal organization of work, otherwise I think a great figure and I recommend you.

Let’s go to work, after a quick preparation, cover some tiny pore resin I primed in black with Vallejo’s «Primer Black», leaving it ready to start the work of airbrush:

[IMG]

Next with «Primer Grey» also by Vallejo, I gave it some lights to obtain a grisaille, which allows it to appreciate the volumes of the sculpture:

[IMG]

The obtained grisaille, will facilitate to appreciate the zones of lights and shades, and by transparency it will help us in the first layers of color.

[IMG]

The next step is to work the flesh tones of the face with airbrush, I have used acrylic artistic Golden «Heavy Body», which give a finish and a warmth to the carnations, for me, insurpassable, as I tell you, do not worry they airbrush to perfection.

I prepare the base color with Naples Yellow, Burnt Sienna, Cadmium Orange and a bit of Titanium White.

[IMG]

The grisaille applied, facilitates to obtain the first lights by the transparency that are obtained applying the acrylic in thin diluted layers.

[IMG]

Lightening the base color with Yellow Napoles and Titanium White, the lights are obtained, in applications with airbrush and the very diluted painting.

[IMG]

[IMG]

[IMG]

For shading, the paint is projected from below in very soft passes, darkening the base color with Burnt Umber, Alizarin Crimson and a little Ultramarine Blue for the last shadows, finishing the process with airbrush.

I put the helmet on to see how it acts on the face and to see how the process runs:

[IMG]

[IMG]

[IMG]

It’s time for the brushes, the first thing I do is to paint the eyes, profiling them, painting the last lights and shadows then, the mixtures used are those explained above, but clarified and / or darkened.

[IMG]

After working the lights and shadows, I make the effect of beard, darkening the base flesh with Viridian Green and Black, applied by means of soft glazes, I also paint lips and eyebrows.

[IMG]

[IMG]

In a parallel way, I apply great quantity of glazes to work the middle tones, with Cadmium Orange, Cadmium Red and Natural Siena.

[IMG]

To finish for the moment, I apply the base color on the shirt and helmet to see the face framed as a whole, and appreciate some retouching to do, especially in the eyebrows that do not convince me much, and I have to work more.

Next you can see how the bust has been after two afternoons of painting that have turned out to be very productive.

I hope you didn’t think it was «large volume», and you liked the result of what has been done so far, soon I hope to be able to put more progress.

[IMG]

[IMG]

[IMG]

[IMG]

[IMG]

Without further ado, I wish you ALL a Merry Christmas.

Best Regards.

Miliciano G.C.E. 1937, Arcabuz 1/16

  English Text Version

#modelling_expands #gazquezbooks
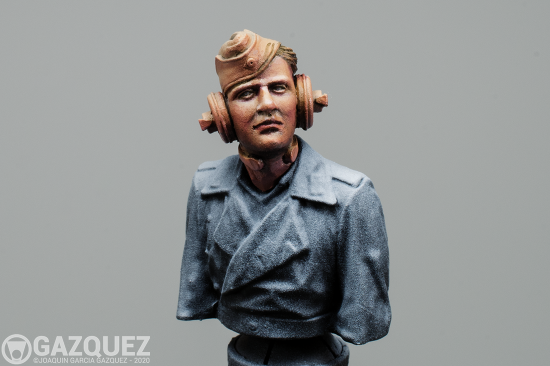
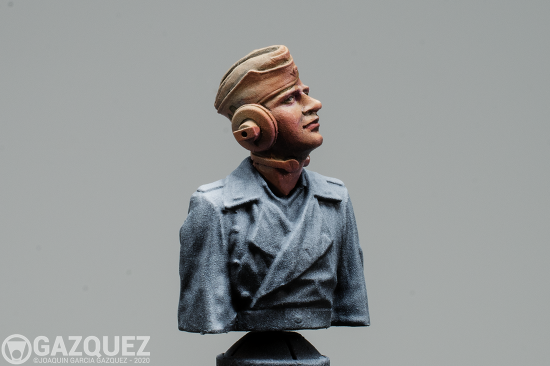
Os presento el busto que estoy «perpetrando» ahora mismo, se trata de la referencia de Arcabuz «Miliciano – 1937» a 1/16, esta escala es muy adecuada para bustos, porque presenta el detalle adecuado para trabajar bien las caras, y no tiene un tamaño excesivo que nos termine resultando una tarea agotadora.

La miniatura de Arcabuz, está modelada con tecnología 3D, impresa digitalmente y luego se le han sacado copias en resina.

Puedo decir que me ha parecido muy buena, aunque le he notado alguna línea de la impresión, lo que menos me ha gustado es que la cabeza venga unida al cuerpo, esto para mi no es menor, ya que dificulta sensiblemente pintar con aerógrafo, poder separar la cabeza, y trabajarla aparte, nos evita complicados enmascarados, pero como os digo, es cuestión mas de gustos y organización personal del trabajo, por lo demás me parece una gran figura y os la recomiendo.

Vayamos al trabajo, tras una rápida preparación, tapar algún diminuto poro de resina la imprimo en negro, dejándola lista para comenzar el trabajo de aerografía:

Imprimación con Primer Black de Vallejo.

Seguidamente con Primer Gris di unas luces para obtener una grisalla, que permite apreciar los volúmenes de la escultura:

La grisalla obtenida, facilitará apreciar las zonas de luces y sombras, y por transparencia nos ayudará en las primeras capas de color.

El siguiente paso es trabajar las carnes de la cara con aerografo, he ultilizado acrílicos artísticos de Golden fundamentalmente, que dan un acabado y una calidez a las carnaciones, para mi, insuperable, como os digo, no os preocupeis se aerografían a la perfección.

El color base lo preparo con Amarillo Nápoles, Siena Tostada, Naranja de Cadmio y un poco de Blanco.

Como los acrílicos artísticos cubren muy bien, no hay que preocuparse por tener la imprimación en color negro.
La grisalla aplicada, facilita obtener las primeras luces por la transparencia que se obtienen aplicando el acrílico en capas finas diluidas.

Aclarando el color base con Amarillo Napoles y Blanco, se obtienen las luces, en aplicaciones con aerógrafo y la pintura muy diluida.

Para sombrear, se proyecta la pintura desde abajo en pasadas muy suaves, oscureciendo el color base con Sombra Tostada, Alizarin Crimson y un poco de Azul Ultramarino para las últimas sombras, dando por terminado el proceso con aerógrafo.

Coloco el casco para ver como actua sobre la cara y ver como marcha el proceso:

Trabajo a Pincel:

Llega la hora de los pinceles, lo primero que hago es pintar los ojos, perfilando los mismos, y pintando las ultimas luces y sombras, las mezclas utilizadas son las explicadas anteriormente, mas aclaradas y/o oscurecidas.

Después de trabajar las luces y las sombras, hago el efecto de barba, oscureciendo la carne base con Verde Viridian y Negro, aplicado mediante suaves veladuras, tambié pinto labios y cejas.

De forma paralela, aplico gran cantidad de veladuras para trabajar los tonos medios, con Naranja de Cadmio, Rojo de Cadmio y Siena Natural.

Para terminar por el momento, he aplicado el color base en la camisa y el casco para ver el rostro enmarcado en su conjunto, y apreciar algun retoque a realizar, sobre todo en las cejas que no me convencen mucho, y tengo que trabajarlas más.
A continuación podeis ver como ha quedado el busto tras dos tardes de pintura que han resultado ser muy productivas.
Espero que no os haya parecido tocho, y os haya gustado el resultado de lo realizado hasta ahora, en breve espero poder poner más avances.

M1A2 Abrams, assembly and airbrush base work

#modelling_expands #gazquezbooks
Montaje y trabajo base de pintura del M1A2 Abrams de Tamiya a 1/48, el kit está mejorado con el FG de Tetra Models.
El montaje como es habitual en Tamiya una delicia, sencillo y rápido, con un detalle perfecto para la escala:

Tamiya’s M1A2 Abrams 1/48 scale, build and paint base work done, the model is improved with the Tetra Models PE.
The assembly as usual in Tamiya a delight, simple and fast, with a perfect detail for this scale:

La pintura base aerográfica la he realizado con acrílicos «Water Based» de Gunze Sangyo y Tamiya, previo una capa de Primer «Sand» de Vallejo.

The airbrush base paint has been made with acrylic «Water Based» by Gunze Sangyo and Tamiya, after a layer of  Vallejo’s «Sand» Primer.

Siguiente paso, las calcas. Pronto más.

Next step, the decals. Soon more.

Brummbär “Späte Produktion”, Base Disc Camo Step by Step

#modelling_expands #gazquezbooks
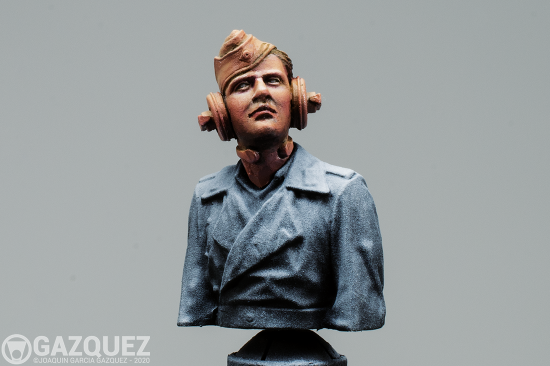
Hola a Todos,

Por fin he terminado la base aerográfica del Brummbär, digo por fin porque realizar el «Disc Camo», mas que difícil es muy laborioso, paso a mostraros como lo he realizado.

Comienzo dando una capa de primer verde, como no tenia a mano ningún primer «Olivgrun», mezcle Nato Green con Dunkelgelb, cubriendo la parte superior del «Brumm»

A continuación, con H405 de Hobby Color como base, aplique el «Olivgrün», aclare el color base y di algunos volúmenes, añadiendo diversos colores de Tamiya, no hay que preocuparse, los acrílicos de Tamiya y los Water Based de Mr.Hobby son 100% compatibles.

Para los discos usé la plantilla de DN Models, un poquito gruesa pero perfecta en diseño y ajuste a las fotografías que he tenido acceso de los Brummbär reales de la época. El pincel de silicona, es especialmente útil para ajustar la plantilla.

A continuación se aerografía el «Rotbraün», utilizando Tamiya XF-64, aclarado con Carne Mate y Buff, dando algunos volúmenes, trazos y nubecillas.

A continuación, se colocan las mascarillas para definir los círculos «Rotbraun».

Con una taladradora para folios, saco algunos circulos en papel de enmascarar de Tamiya, para completar y fijar algunos círculos más.

Como no había pintado los bajos al ir en «Dunkelgelb», aplique una mano de Primer en este color por todo el vehículo, incidiendo en los bajos del «Brumm».

Para el Dukelgelb, use una mezcla que me encanta y que ademas coincide 100% con la muestra que aparece en el libro de Tomas Chory, 3 partes de Gunze H-403 con una de Blanco XF-2, también doy algunas luces y sombras.

Y llega la hora de la verdad… la retirada de las mascarillas:

El resultado es muy bueno, el adhesivo de las plantillas es perfecto, no deja huellas y se despega bien, no obstante siempre hay algún retoque o parte a repasar, en cualquier caso el resultado más que aceptable.

De forma paralela, se trabajan las escotillas, los faldones «Schürzen» y las ruedas.

El siguiente paso será algún retoque a los círculos, y ya, comenzar con los óleos.

Espero os haya gustado.

Pronto más.

Brummbär “Späte Produktion”, Ready to Paint

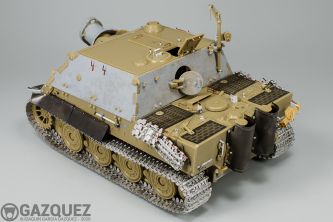
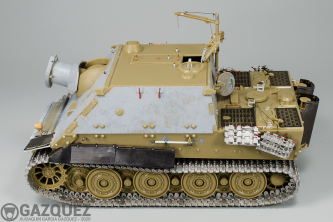
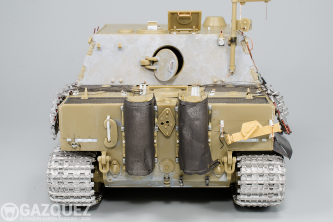
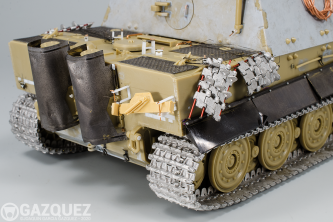
Finally it’s ready to paint, in the next days I’ll start the airbrush work.
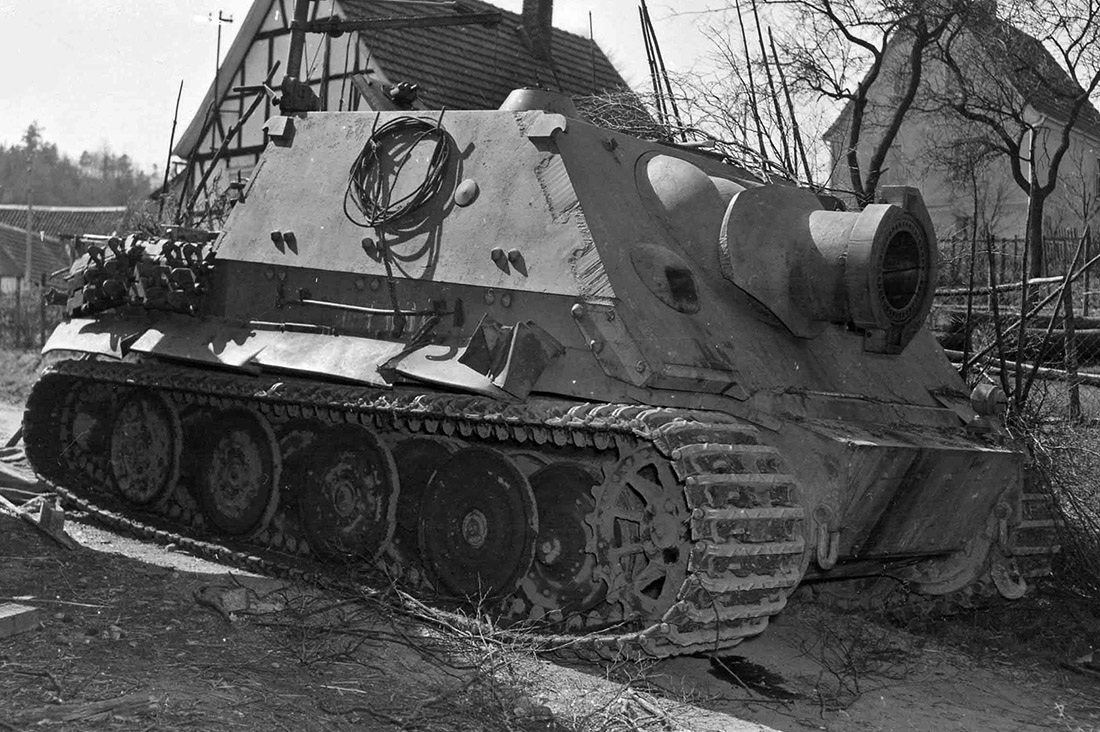
Disc camouflage setting in Hungary, 219 Sturmpanzer Abteilung.
I hope you like it.


Finalmente ya está listo para pintar, en los próximos días comenzaré el trabajo de aerógrafo.
Camuflaje de puntos ambientado en Hungría, 219 Sturmpanzer Abteilung.
Espero os guste.

#modelling_expands #gazquezbooks
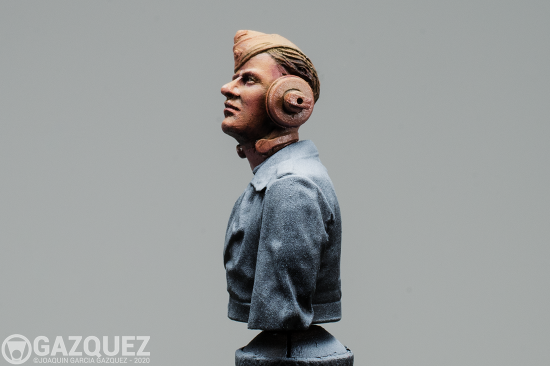
KRASNOARMEETS VVS, WINTER 1942, Colours on Canvas (2)

Colours on Canvas.

With this simile I mean that all the colours are in place, and «just need» to work to give lights, shadows and integrate the whole.

Due to the peculiar color of the «Boudinovka» in blue and the attractive flesh color obtained with artistic acrylics, the coat has been painted within the range of possible colors, of a deliberately dull khaki grey, the objective is to highlight and enhance the colors of the face and cap.

The vivid of the light blue aerial weapon braids together with the red star, configuring the color chart of the bust.

Some more comments:

  • The light blue braids on  the coat with the cap, besides framing all the perimeter of the face with this color.
  • The coat color has a same blue drop color of the cap, to relate and integrate it chromatically.
  • In the red star, there will be an artificial reflection that will be the first time I do it.

There is still a world, buttons, braids, outlines, etc., etc..,

This is an important painting challenge to continue improving and expanding the knowledge of painting and color.

Keep progress.


Los Colores en el Lienzo.

Con este símil  me quiero referir a que ya están todos los colores en su sitio, y “solo falta” trabajarlos para dar luces, sombras e ir integrando el conjunto.

Debido al peculiar color de la “Boudinovka” en azul y al atractivo color carne obtenido con acrílicos artísticos, el abrigo se ha pintado dentro de la gama de colores posibles, de un kaki agrisado  deliberadamente apagado, el objetivo es que se destaquen y realcen los colores de la cara y el gorro.

Los vivos del arma aérea en celeste junto con la estrella roja, terminan de configurar la carta de colores del busto.

Algunos comentarios más:

  • Los vivos celestes vienen muy bien para relacionar el abrigo con el gorro, además de enmarcar todo el perímetro de la cara con este color.
  • El abrigo lleva una gota del azul base del gorro, para relacionarlo e integrarlo cromáticamente.
  • En la estrella roja, irá un reflejo artificial que será la primera vez que lo hago.

Aún queda un mundo, botones, galones, perfilados, etc., etc.,

Se trata de un importante reto de pintura para seguir mejorando y ampliando los conocimientos de pintura y color.

A seguir.

#modelling_expands #gazquezbooks
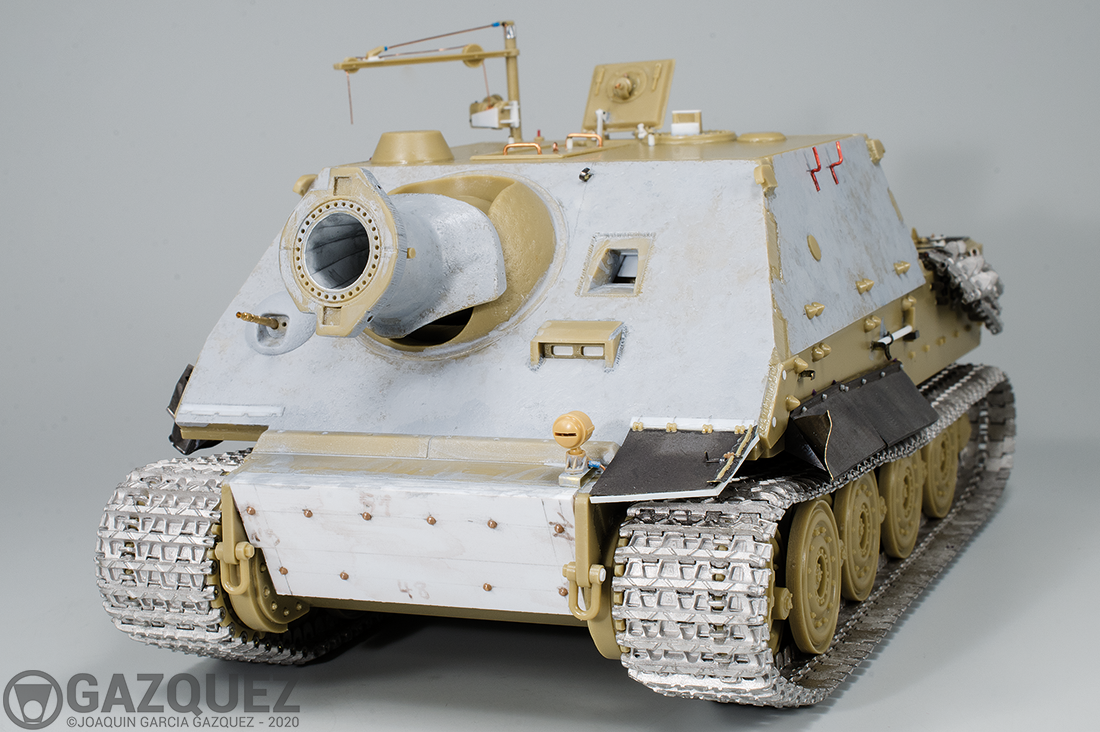
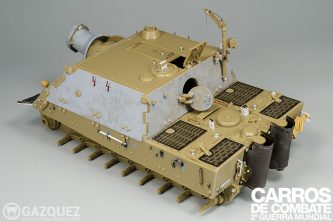
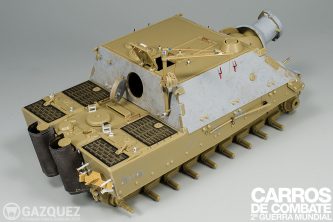
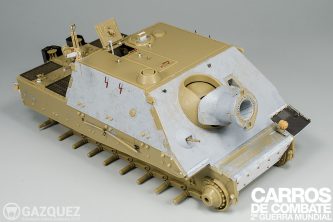
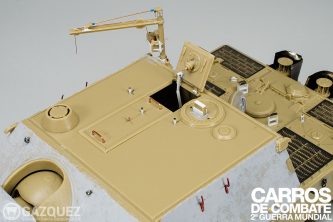
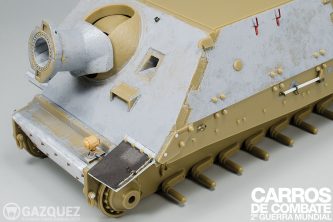
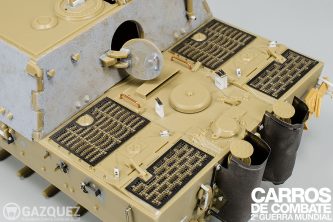
Brummbär “Späte Produktion”, Build in Progress
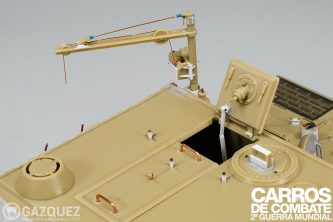
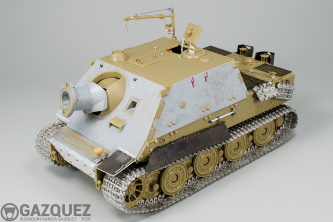
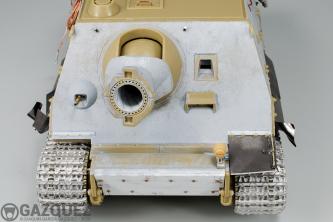
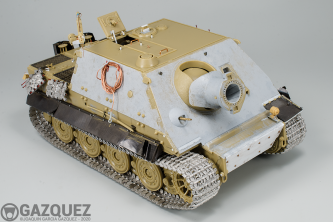
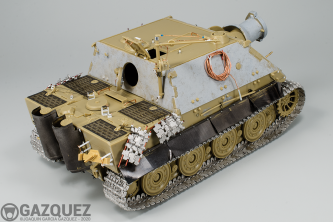
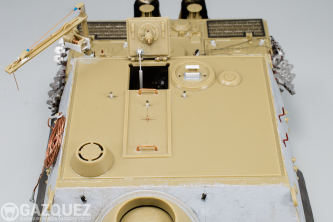
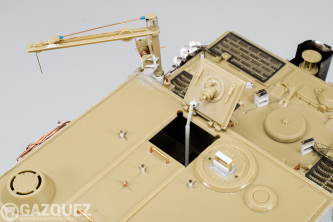
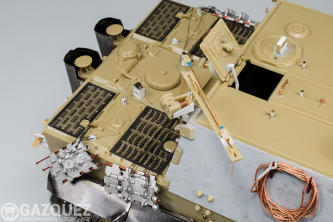
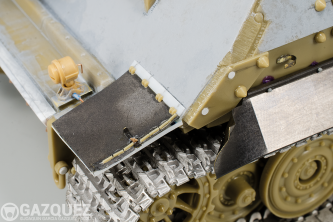
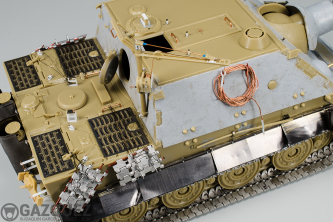
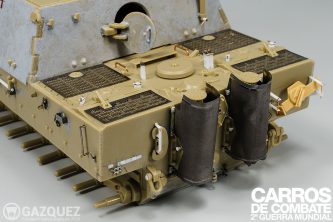
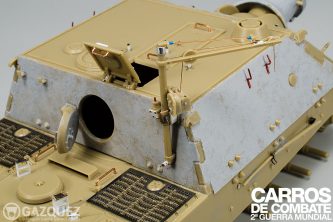
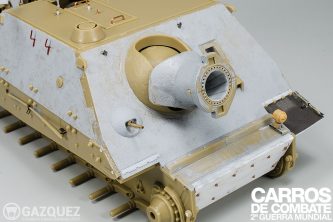
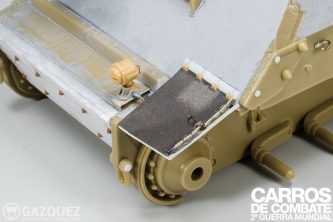
Step by step I’m advancing with the Brumbär assembly, I’m using the Eduard’s basic PE, still lack the «Schürzen» and revise some details, I hope to start paint soon. The next images will be completely assembled and ready to paint.


Poco a poco voy avanzando con el montaje del Brumbär, estoy utilizando el FG básico de Eduard, a falta de los «Schürzen» y repasar algunos detallas, pronto espero empezar a pintar. Las próximas imágenes será ya completamente montado listo para pintar.


Brummbär «Späte Produktion», first build steps

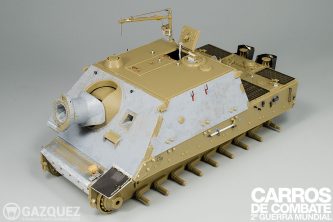
Already there is new project to 1/35 in my workbench, it’s the superb Tamiya’s Brummbär, to detail it I’ll use the Eduard PE, wishing to finish the assembly shortly and start to paint. More progress coming soon


Ya hay nuevo proyecto a 1/35 en mi mesa de trabajo, se trata del magnífico Brummbär de Tamiya, para detallarlo usare el FG de Eduard, deseando de termienar el montaje y ponerme a pintar, que ya toca. Pronto más avances.